Introduction
Reducing image quality is often seen as a strategy to optimize images for easy storage, faster load times, improved SEO rankings, and enhanced user experience. However, it’s also in trend to make image low quality, turning images into pixelated, vintage, or artistically distorted versions. So, whether you’re looking for a nostalgic, retro aesthetic or need to compress a picture, a low quality image maker is the perfect solution. In this article, you’ll learn about the best tools with their steps on how to make an image lower quality.
Part 1. Why Make Image Lower Quality?
Low quality images are created either by lowering the number of pixels or increasing the compression level. Sounds absurd? It’s actually not. But why? Here are the reasons why you might want to make images low quality:
- Vintage Effect: Low image quality can create a cool, retro look with pixelated textures or grainy filters, perfect for aesthetics and modern digital art.
- Shrink File Size: It makes files easier to store on your device and share across various platforms, such as email, social media, and messaging apps.
- Web Use: They can improve website speed by reducing load times and enhancing user experience.
- Mobile Optimization: Low quality images are especially beneficial for mobile websites, as they reduce data usage for users on limited data plans.
- Nostalgia: Lowering image quality can make you relive the charm of old technology, i.e., early digital cameras or flip phone photos.
Part 2. Best Image Compressor: How to Make an Image Not Low Quality
HitPaw Univd is a desktop software that offers both image and video compression capabilities. It helps reduce image size by up to 80% without losing noticeable quality. It also supports fast and efficient processing as well as compressing images for various social platforms, including Facebook, Instagram, and Pinterest.
With a user-friendly interface, you can adjust the file resolution, size, and quality manually. It even allows compressing multiple images in a batch, making it ideal for photographers, designers, and ecommerce sellers.
Main features:
- Work well for Windows and Mac users
- Support multiple input and output image formats
- Let you adjust the compression settings as desired
- Capable of compressing images at a high speed
- Help make image lower quality losslessly with ease
How to Make an Image Not Low Quality using HitPaw Univd:
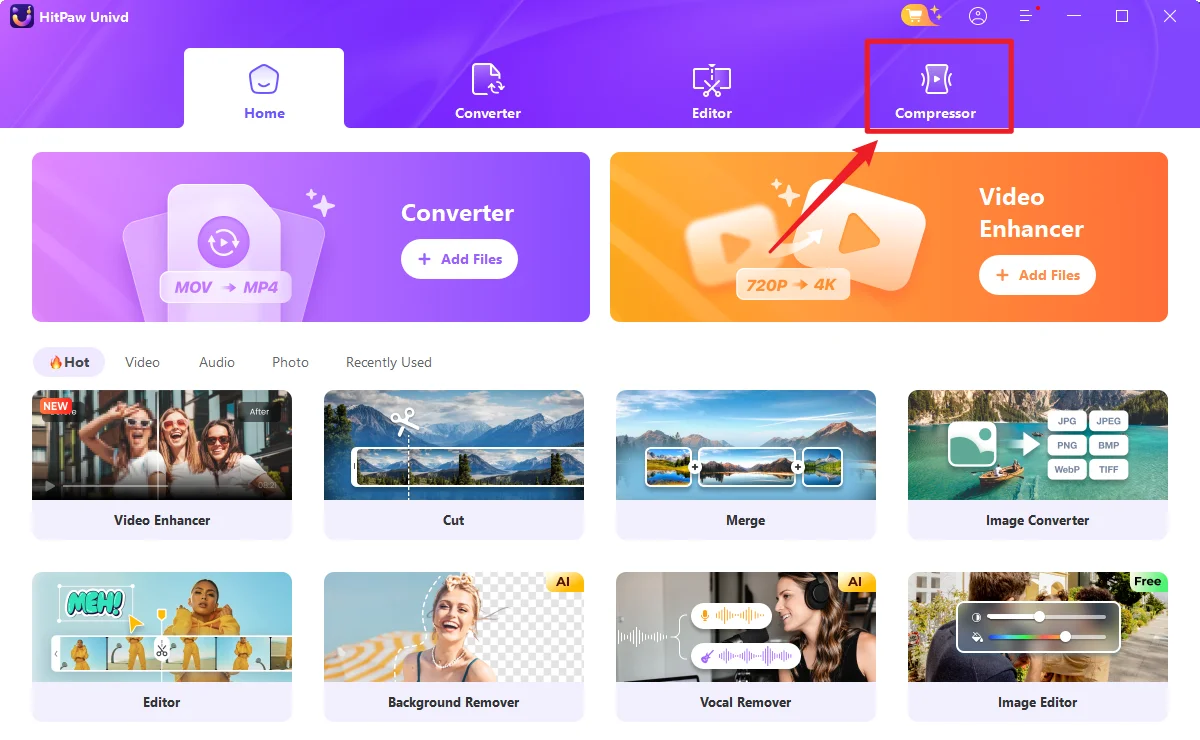
Step 1. Add Images
The first step is to launch this program and choose the “Compressor” section. Now, select the “Image” tab and click “Add Image” to import the photos.
Step 2. Adjust Compress Settings
Next, tap the settings icon in front of the image and adjust the “Quality” slider. Also, pick the preferred output format.
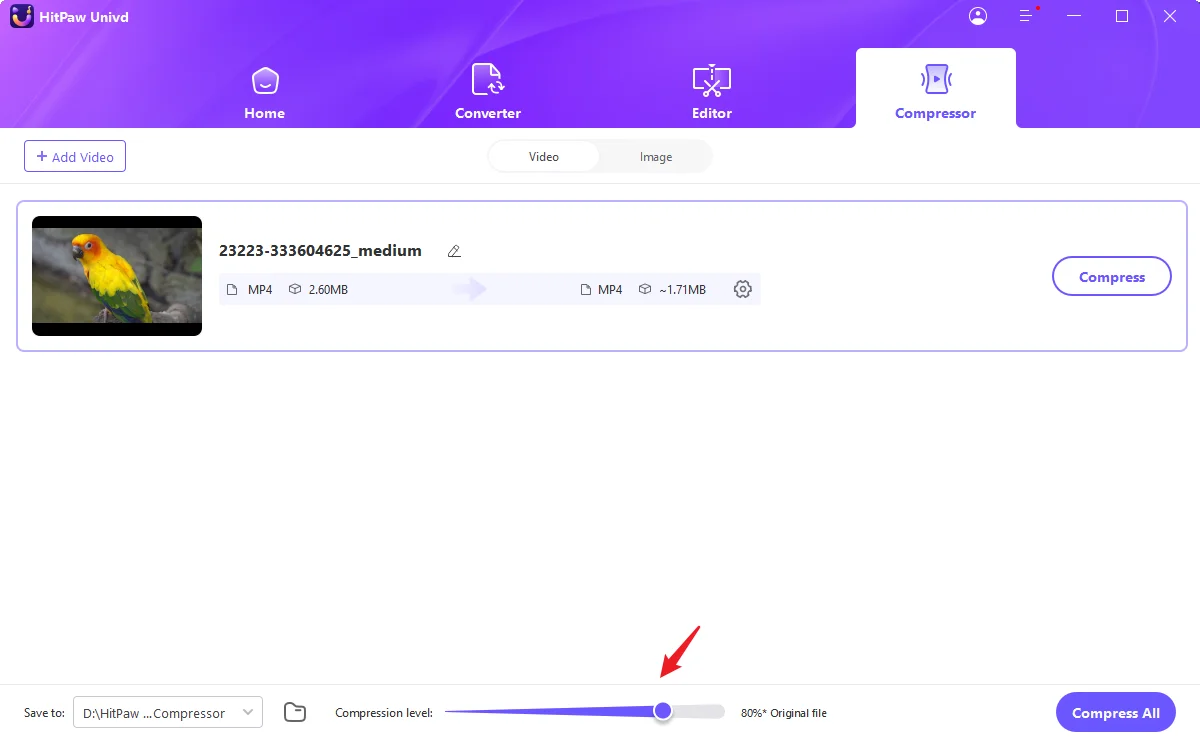
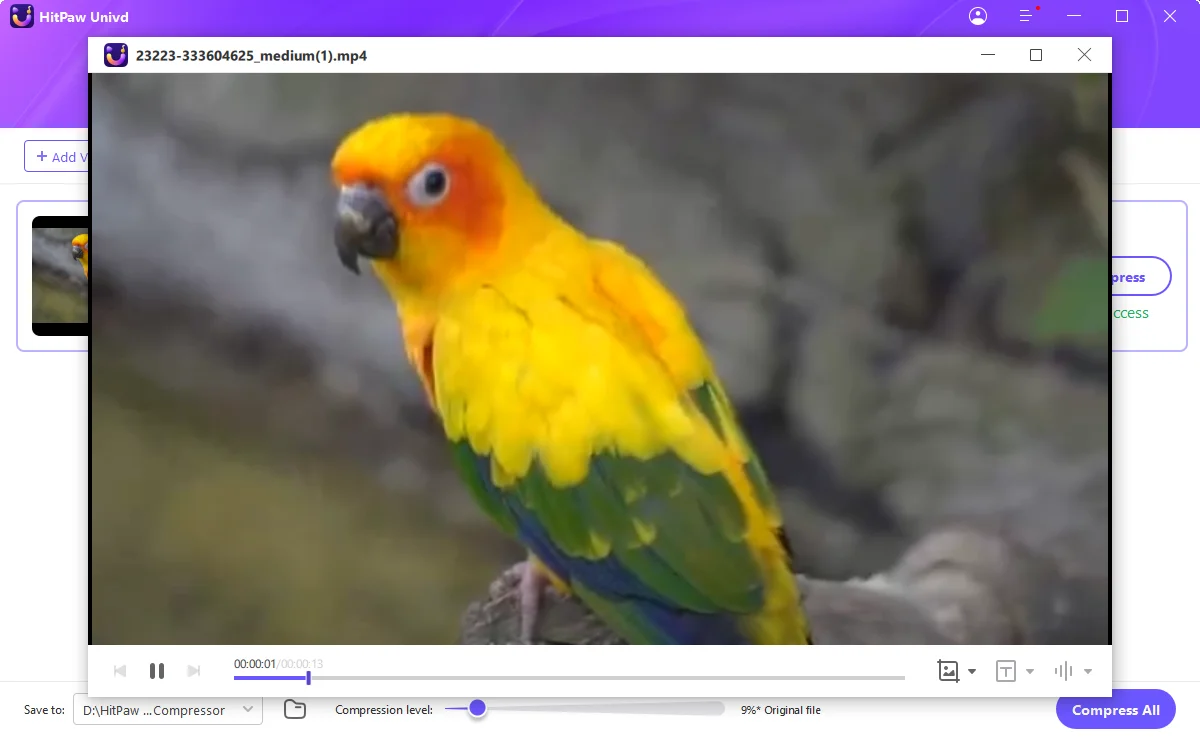
Step 3. Start Compression
Lastly, select the output folder, and press the “Compress” or “Compress All” button to start compression. Once done, you can access the compressed files, and that’s it!
Part 2. 7 Leading Online Tools to Make Image Low Quality
Now, let’s look at the seven other online tools with their features, pros & cons, and step-by-step tutorials on how to make an image lower quality effectively:
1. Low Quality Image Maker
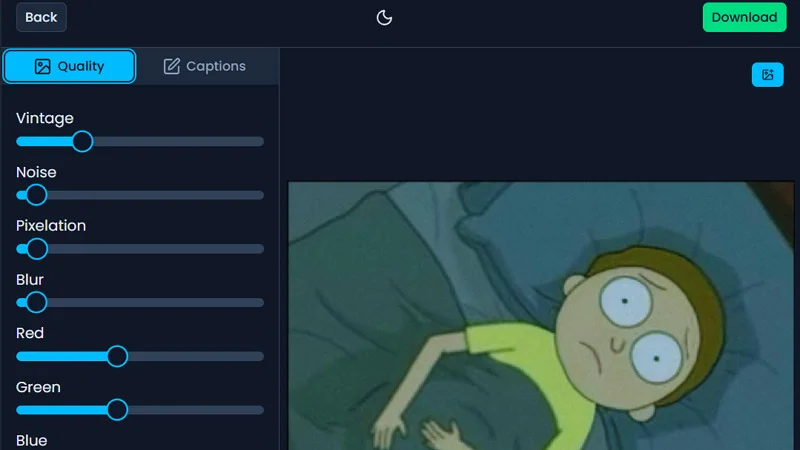
Low Quality Image Maker is an online tool that transforms high-quality images into low-quality versions with pixelated, blurry, or vintage effects. Perfect for designers, digital artists, or anyone looking to add a retro effect to their images, this tool is a simple solution. You can also adjust the level of pixelation, add noise, or reduce resolution. Here is how to make an image lower quality:
Step 1. Access this tool and drag & drop your image.
Step 2. Now, you can adjust various quality parameters with the slider.
Step 3. Press the “Download” tab and that’s it.
Pros:
- Easy and free to use
- Let you apply various effects
- Offer complete control over the process
Cons:
- Limitation of 100MB file size
- May lose some necessary details
2. Pippit
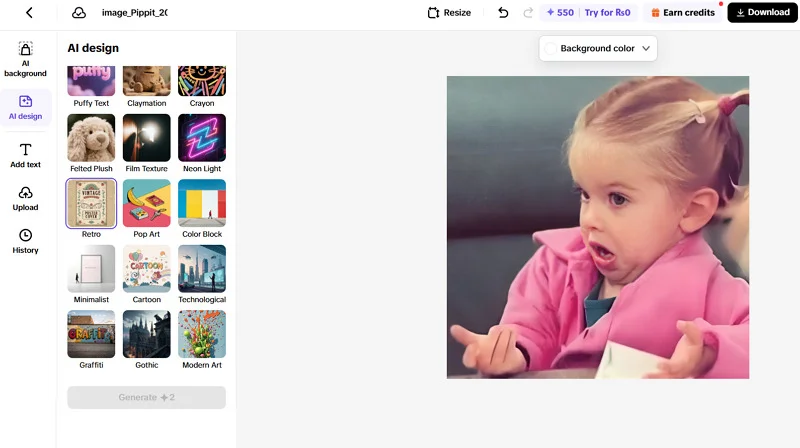
Pippit is an AI-driven tool that helps users make images low quality with unique artistic effects. However, you can also convert or enhance photos instantly. It uses machine learning to transform pictures into visually interesting styles, making it an excellent solution for those seeking creative and nostalgic vibes. You can target the compression level and preview changes in real-time. Let’s comply with these steps:
Step 1. Open this website, click the “+” icon, and sign up. Tap “Upload” and import the image from a computer, phone, or cloud.
Step 2. Press the “AI Design” button, give the prompt, and choose the “Style.” Click “Resize” to select the aspect ratio.
Step 3. Tap “Download,” select the output format and other options, and hit “Download” again.
Pros:
- Support processing multiple images
- Various effects to adjust image quality
- Let you export as a PDF file
Cons:
- Require sign-up to process
- Leave a watermark in the free plan
3. CapCut
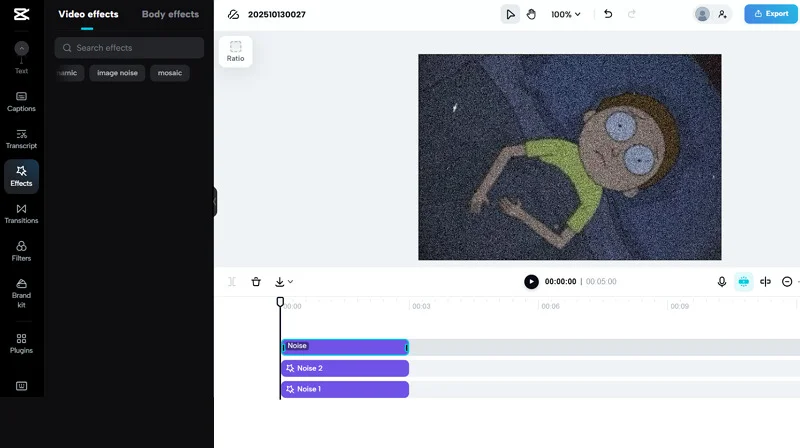
CapCut, primarily known for its video editing features, also lets users reduce image file size with no quality loss. Its intuitive interface and quick processing make it a good choice for both beginners and experienced users. It can help lower image resolution or apply fun effects instantly, such as blur, noise, retro, shake, and mosaic. Below is how to make an image not low quality:
Step 1. Access the CapCut Low Quality Image Generator tool and click the “+” icon to upload the image.
Step 2. From the main interface, drag and drop the file from your computer or cloud storage.
Step 3. Go to the “Effects” tab, search for an effect like blur, noise, etc., and apply. You can also do it for the “Filters” tab. Then, hit “Export.”
Pros:
- Multi-format support
- Available on PC, mobile, and online
- Complete privacy and data protection
Cons:
- Limited customization
- Lack of advanced compression features
4. Pixelied
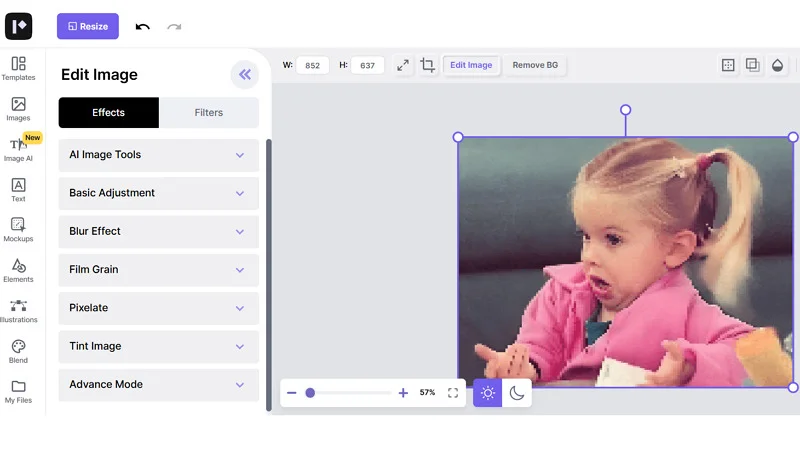
Pixelied is a powerful image editing platform that offers a dedicated image quality reducer tool. It provides a slider to reduce image quality and size while maintaining visual appeal. You can also apply special effects, i.e., pixelate, blur, grain, tint, etc. It even lets you adjust the basic parameters, such as brightness, contrast, hue, and vibrance. Let’s learn to use this low quality image maker:
Step 1. Open this tool’s website and tap “Upload Your Image” to import the required picture.
Step 2. Under the “Edit Image” tab, expand any drop-down menu, i.e., Pixelate, Tint, etc., and adjust the slider as desired.
Step 3. Then, press the download icon, choose the output format, quality, size, and pages. Hit “Download.”
Pros:
- Various customization options
- A variety of image editing tools
- Export in high-resolution formats
Cons:
- Ads on the interface
- Require sign-up to download
5. Fotor
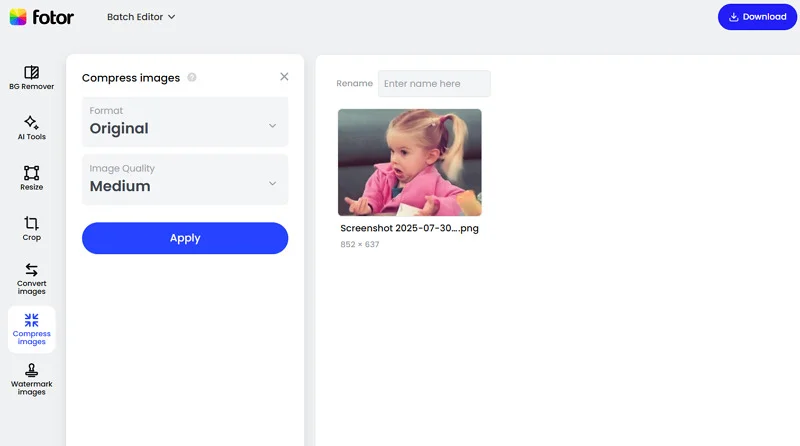
Fotor is a versatile online image editor that also helps users reduce their image sizes to less than 1MB without losing quality. You can choose the desired size, such as 500kb, 200kb, 100kb, 50kb, or 20kb. You can adjust the quality level or set it manually. It’s excellent for anyone looking to make image lower quality for faster loading times. Below is the tutorial:
Step 1. Access the Fotor Image Compressor and click “Upload your image” to proceed.
Step 2. Now, select the output format under the “Format” drop-down menu and set the “Image Quality” as desired.
Step 3. Then, hit “Download,” adjust other parameters, and save it to your device. All done!
Pros:
- Quick and easy to use
- Support batch processing
- Export as an image or zip file
Cons:
- No filters or effects
- Lack of customization options
6. ImageResizer
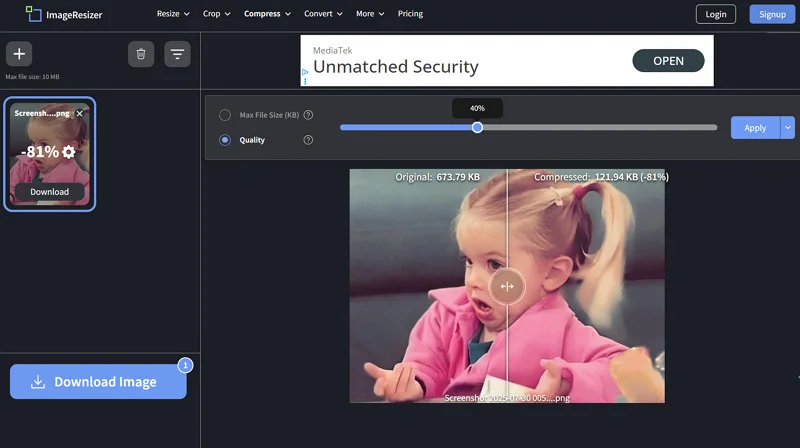
ImageResizer is a free and simple tool designed to compress images quickly without any advanced settings. It is perfect for users who need to reduce the photo quality by up to 80% for faster web loading or file size reduction. It also lets you compress up to 50 images at once, offering both efficiency and ease of use. Here is how to make an image lower quality:
Step 1. Open this tool and expand the “Select Images” tab to import from a device, Dropbox, Drive, or URL.
Step 2. Now, checkmark the “Max File Size” or “Quality” option and adjust the slider as preferred.
Step 3. Next, press the “Apply” button and then hit “Download Image.” That’s it!
Pros:
- Compress images within seconds
- Secure with 256-bit encryption
- Retain quality while compression
Cons:
- Compress up to a 10MB file size
- Display ads over the interface
7. Photokako
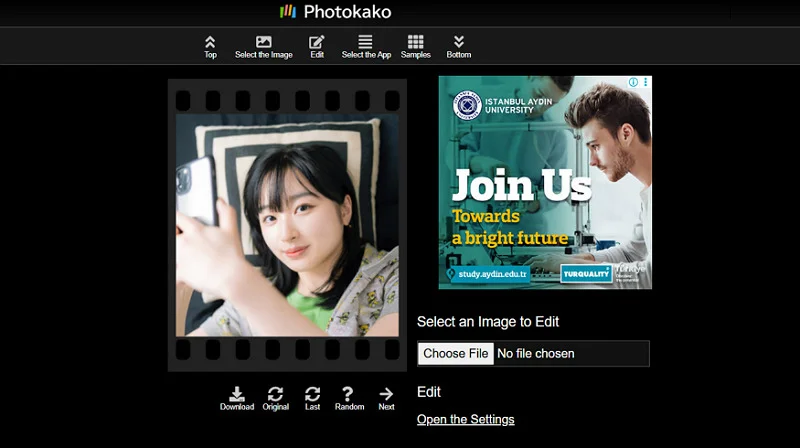
Photokako is another simple tool that lets users add low quality effects to images, giving them a retro, pixelated look. You can also adjust the image size, resolution, quality, colors, background, and more with its basic and advanced settings. It is perfect for those looking to experiment with image quality degradation for fun or style purposes. Let’s learn how to make image low quality:
Step 1. Open this website and click “Choose File” to upload the image.
Step 2. Now, tap “Random” to apply any effect or press “Open the Settings” to adjust.
Step 3. Lastly, click “Open Basic Settings” to change other parameters. Scroll up and hit “Download.”
Pros:
- Completely free to use
- Let you apply random effects
- Available in various languages
Cons:
- Complex to use
- Outdated interface
Conclusion
Lowering the quality of an image doesn’t always mean sacrificing its impact. By using any low quality image maker above and following the given tutorials, you can achieve not only optimal file size and quality, but also the vintage look. Although you can choose the preferred tool, HitPaw Univd is highly recommended for a high-quality and smooth image compression experience. Let’s try it today!