
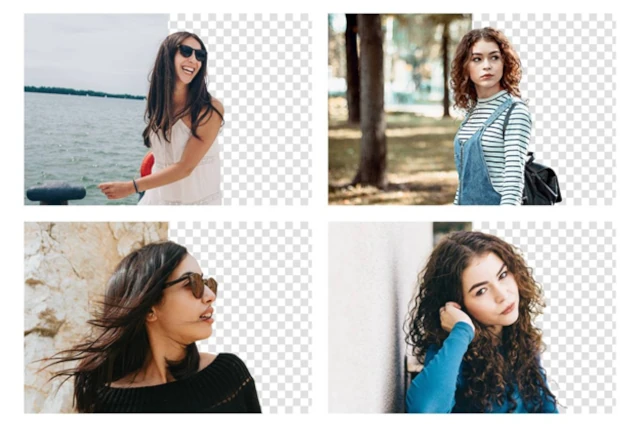
Have you ever tried to make a portrait cutout by using AI? So what was the result? Maybe you get a result as per your expectation, or struggle with the uncommon scenarios. It’s all about how anyone is using AI portrait cutouts for their tasks.
No doubt, the AI tools are very useful for creators and offer good output when anyone uses them correctly. However, some beginners get trapped with common mistakes and end up with unusual results like awkwardly cropped, flickering backgrounds and choppy outlines.
And that is frustrating, so if you don’t feel like that, you must get familiar with these 4 common mistakes and learn how to fix them with a professional tool like Wondershare Filmora.
Part 1: Why AI Cut-Out Portrait Tools Are Game-Changers
Over the last few years, the AI portrait cutout technology has completely transformed how creators edit videos. Instead of spending hours manually masking or using a green screen setup, these tools detect the subject in your video and isolate it from the background in seconds.
Here’s why that matters:
- Saves time: No more frame-by-frame editing.
- No green screen required: Shoot anywhere, anytime.
- Creative freedom: Instantly replace or stylize backgrounds.
The use of AI is now built into video creation workflows by vloggers, social media influencers, educators, and marketers alike. Simplifying those previously complex options are tools such as Filmora AI Portrait that can make them usable by first-timers. And unless you have mastered the fundamentals, then even the most advanced tools of the trade will not deliver anything impressive.
Part 2: 4 Common Mistakes Beginners Make with AI Portrait Cutout
Although AI tools handle the bulk of the work, newcomers tend to slip into one or more of the following well-known mistakes that damage the end product. Here, we can separate them further so you can prevent them right off the bat.
Mistake 1: Using Low-Resolution Footage
Poor video quality is considered one of the greatest reasons behind the failure of AI tools to produce clean cutouts. A low-resolution shot will provide a lack of information to the software to differentiate the subject and the background. You will find your edges are messy and pixelated most of the time, not looking professional at all.
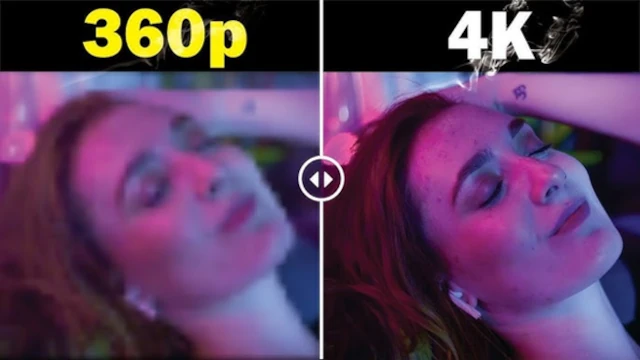
To avoid such trouble, you should record in HD or 4K. By having high-quality footage, you can supply AI with more details. That offers you a more natural and smoother output.
Mistake 2: Poor Lighting and Background Clutter
Lighting is a determining factor in how your AI reads your footage. The software becomes confused by shadows, uneven lighting, or messy backgrounds, which causes flickering of outlines or bad extractions. In case your shirt does not stand out against the background or you use strange lighting, the AI may chop off sections of your body.
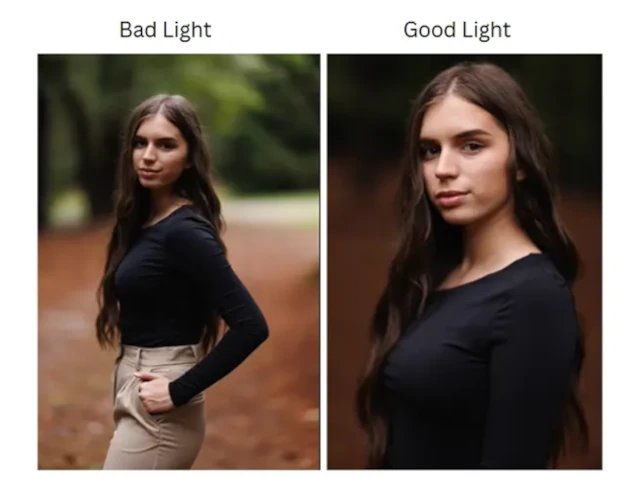
Use even lighting that clearly separates your subject from the background. Ring lights or softbox lights can work wonders. Also, consider shooting against a solid-color wall or backdrop to help the AI easily identify the edges of your subject.
Mistake 3: Overusing Visual Effects After Cutout
Once you cut down the portrait, the temptation is strong to immediately cover it in effects, use motion blur, replace the background, use glitch transitions, or do anything that comes to your mind. Nevertheless, taken too far, it tends to make whatever you are saying look thin and can even be tacky.
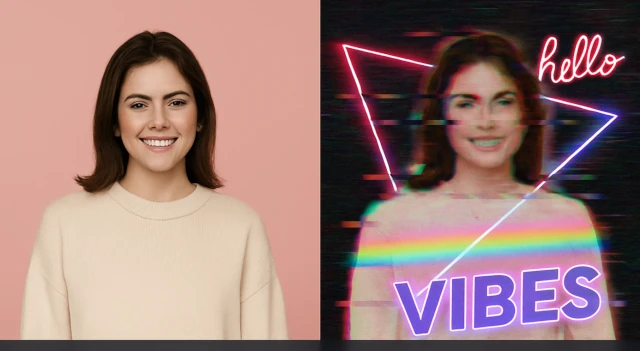
Select effects that enhance your story and do not take it over. Allow the subject to be the center of focus and apply some visual enhancement to back up your materials in a subtle way.
Mistake 4: Ignoring Customization Settings in Filmora
The AI portrait cutout introduced in Filmora is not only plug-and-play, but it also has potent customization options. A lot of novices overlook these settings, thinking that they can just use the default option. It is a chance you are missing to give a shine to your video and be different.
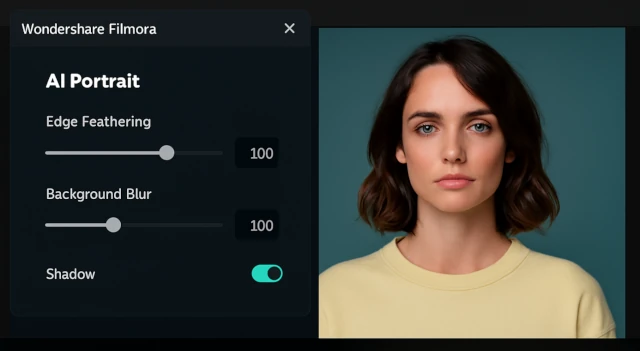
To get a better AI portrait with Filmora, you can adjust the Edge feathering and background blur accurately. It will offer you a better sense of depth, and after that, you can play around with shadows to make the image look more real. A simple cutout will look like a polished, professional cut with only a couple of adjustments.
Part 3: How Wondershare Filmora Helps You Avoid These Mistakes
While you are working on Filmora’s AI portrait, you don’t need to worry about the troubles. Wondershare Filmora is complete video editing software that comes with advanced AI features and brings a wonderful editing experience to users. To better know, you should have a look at Filmora’s unique feature that makes it the best among all the AI video editing tools.
Here’s how it empowers creators at all levels:
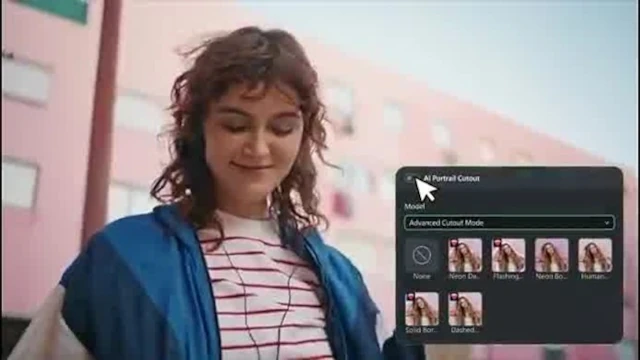
- Drag-and-drop simplicity: No need to understand masking or rotoscoping. Just import your footage and apply the AI Portrait effect.
- Instant subject detection: The AI accurately separates your subject without requiring a green screen or complex setup.
- Creative flexibility: Want to blur the background, replace it, or insert floating text behind your subject? Filmora lets you do that in seconds.
- Built-in preview tools: Instantly check how your cutout looks before finalizing it.
- Custom controls: Modify edge softness, increase background blurring, and add stylized shadows with no learning curve required.
All these features contribute to the absence of trial-and-error and the simplification of your work, which allows it to be fast but not restrictive in terms of applying creativity to it.
Conclusion
With the help of AI technology such as Filmora AI Portrait, video editing will be much quicker, more scalable, and friendlier towards those who are still learning. Yet learning how to prevent the most frequent pitfalls is the secret to making your cut-outs look clean and professional. The obvious advantage of Wondershare Filmora is the ideal combination of AI-driven accuracy and the ability to control creativity to concentrate more on the creation and less on the correction.